Build Infrastructure
Vagrant
การใช้งาน vagrant เพื่อสร้าง development environment

Install vagrant
sudo dnf group install "C Development Tools and Libraries"
sudo dnf install  ruby-devel zlib-devel
sudo dnf install  libxslt  libxslt-devel  libxml2  libxml2-devel redhat-lsb
sudo dnf install libxslt-devel libxml2-devel libvirt-devel libguestfs-tools-c ruby-devel
sudo dnf install redhat-rpm-config patch
sudo gem install nokogiri -v '1.6.8'
wget https://releases.hashicorp.com/vagrant/1.8.4/vagrant_1.8.4_x86_64.rpm
sudo dnf install vagrant_1.8.4_x86_64.rpm
vagrant plugin install vagrant-libvirt
vagrant plugin install vagrant-scp
repository
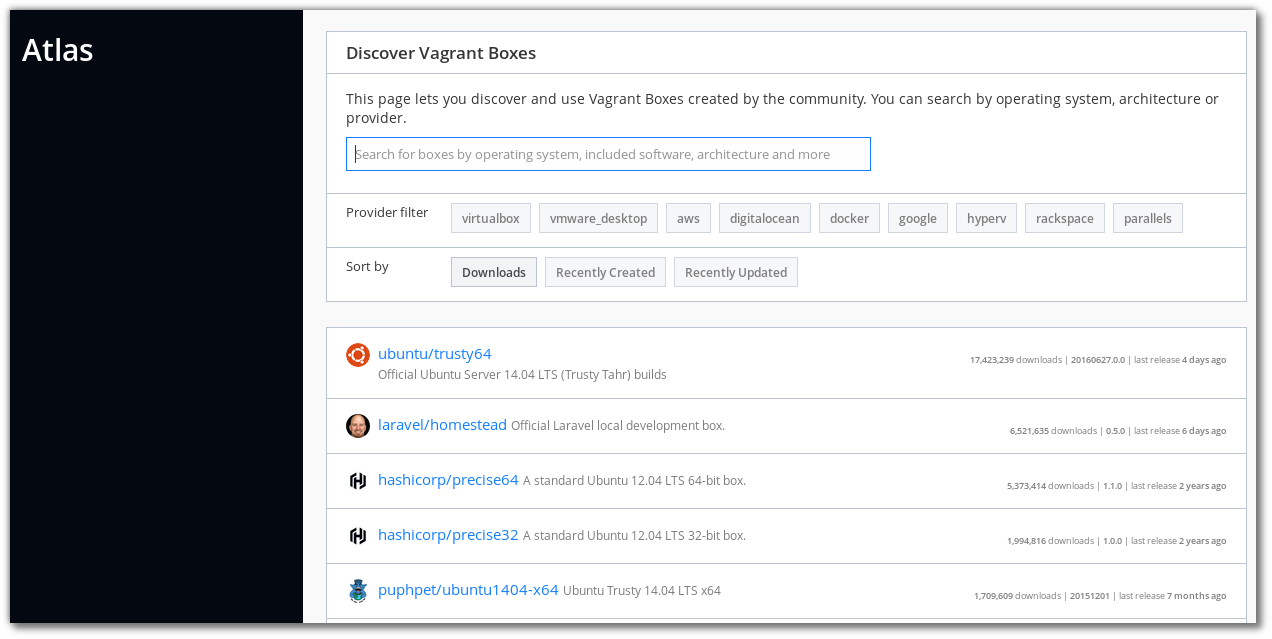
สามารถค้นหาและdownload image เพื่อเตรียมทดสอบ https://atlas.hashicorp.com/boxes/search
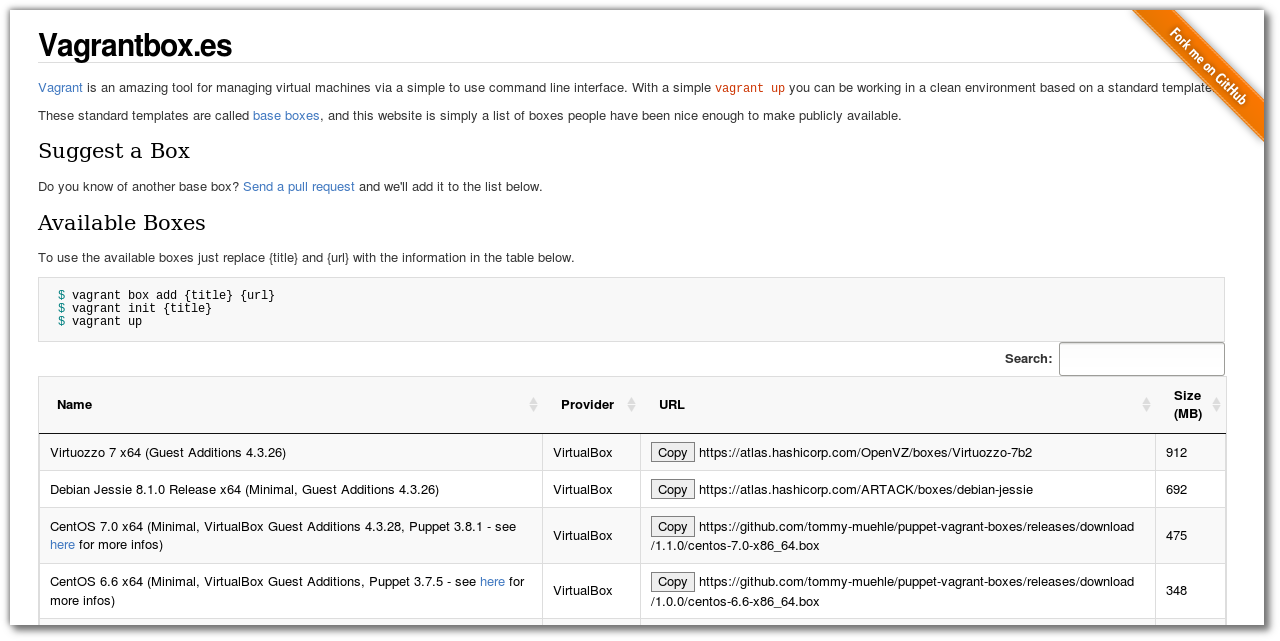
อีกที่หนึ่ง http://www.vagrantbox.es/
Download box
$ vagrant box add centos/7
==> box: Loading metadata for box 'centos/7'
        box: URL: https://atlas.hashicorp.com/centos/7
This box can work with multiple providers! The providers that it
can work with are listed below. Please review the list and choose
the provider you will be working with.

1) libvirt
2) virtualbox

Enter your choice:
vagrantfile
สร้าง project directory เพื่อการทดสอบ และ download box เพื่อ add ภายหลัง * download vagrant box centos os 7
$ vagrant box add centos/7 ./libvirt.box
$ mkdir project01
$ cd project01
$ vagrant init centos/7
$ cat Vagrantfile
(result เมื่อลบ comment ออก)
# -*- mode: ruby -*-
# vi: set ft=ruby :

Vagrant.configure("2") do |config|
  config.vm.box = "centos/7"
end

$ vagrant up --provider libvirt
เพิ่มเติม vagrantfile ด้านล่าง
# -*- mode: ruby -*-
# vi: set ft=ruby :

Vagrant.configure("2") do |config|
  config.vm.box = "centos/7"
  config.vm.define :server1 do |node|
        node.vm.network :private_network, :ip => "10.0.0.10"
        node.vm.provider :libvirt do |domain|
          domain.uri = 'qemu+unix:///system'
          domain.driver = 'kvm'
          domain.host = "server1.example.com"
          domain.memory = 2048
          domain.cpus = 2
          domain.nested = true
          domain.volume_cache = 'none'
          domain.storage :file, :size => '20G'
          domain.storage :file, :size => '20G'
          domain.storage :file, :size => '20G'
        end
  end
  config.vm.define :server2 do |node|
        node.vm.network :private_network, :ip => "10.0.0.11"
        node.vm.provider :libvirt do |domain|
          domain.uri = 'qemu+unix:///system'
          domain.driver = 'kvm'
          domain.host = "server2.example.com"
          domain.memory = 2048
          domain.cpus = 2
          domain.nested = true
          domain.volume_cache = 'none'
        end
  end

end
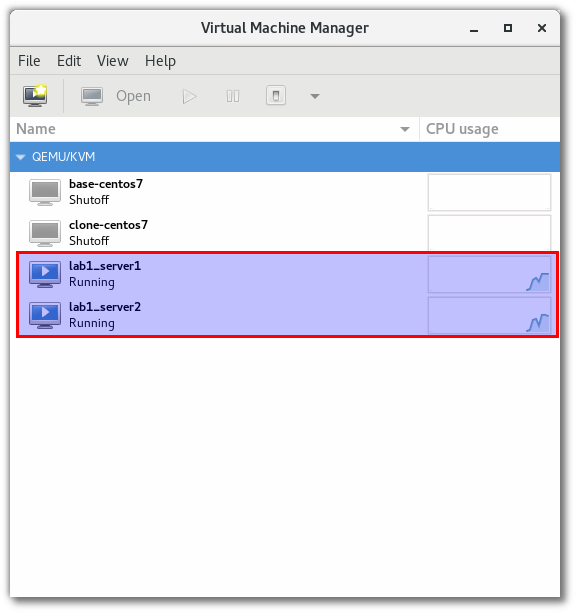
กดเลือก double click lab1_server1 (lab1 ชื่อ project directory และ server1 เป็น ชื่อ VM)
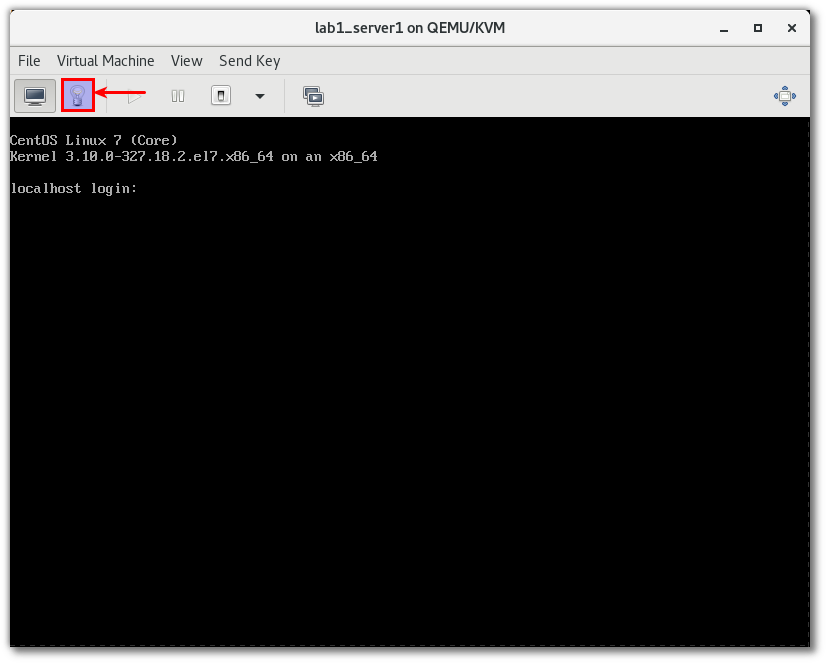
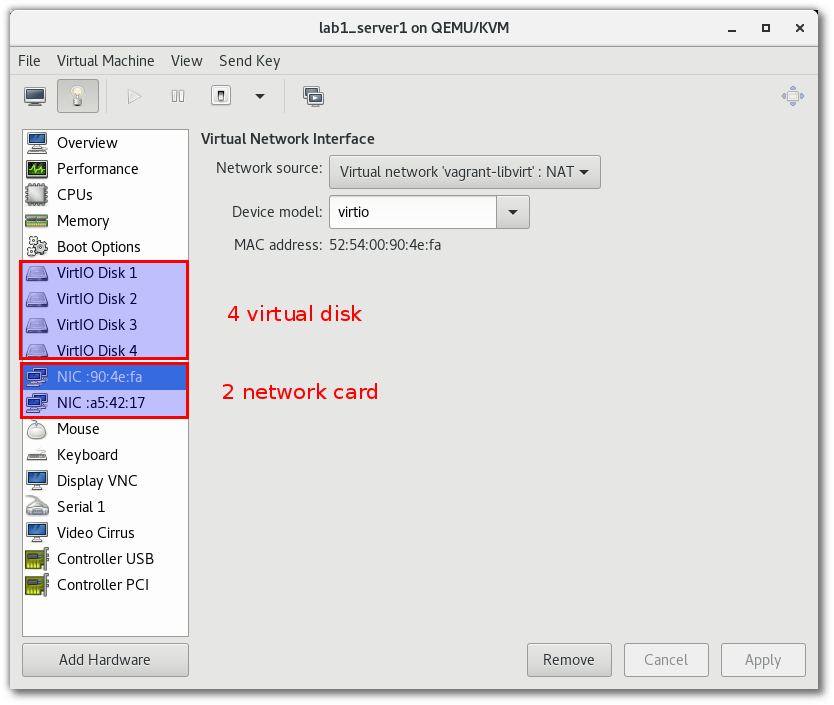
กดเลือก รูปหลอดไฟเพื่อดูรายละเดียด
Connect to VM
สามารถเชื่อมผ่าน virsh
[lab1]$ sudo virsh list
 Id    Name                           State
----------------------------------------------------
 1     lab1_server2                   running
 2     lab1_server1                   running


[lab1]$ sudo virt-viewer lab1_server1
ให้ใช้ username vagrant และ password vagrant แล้วจึงค่อยเปลี่ยนเป็น root ด้วยคำสั่ง sudo su -
